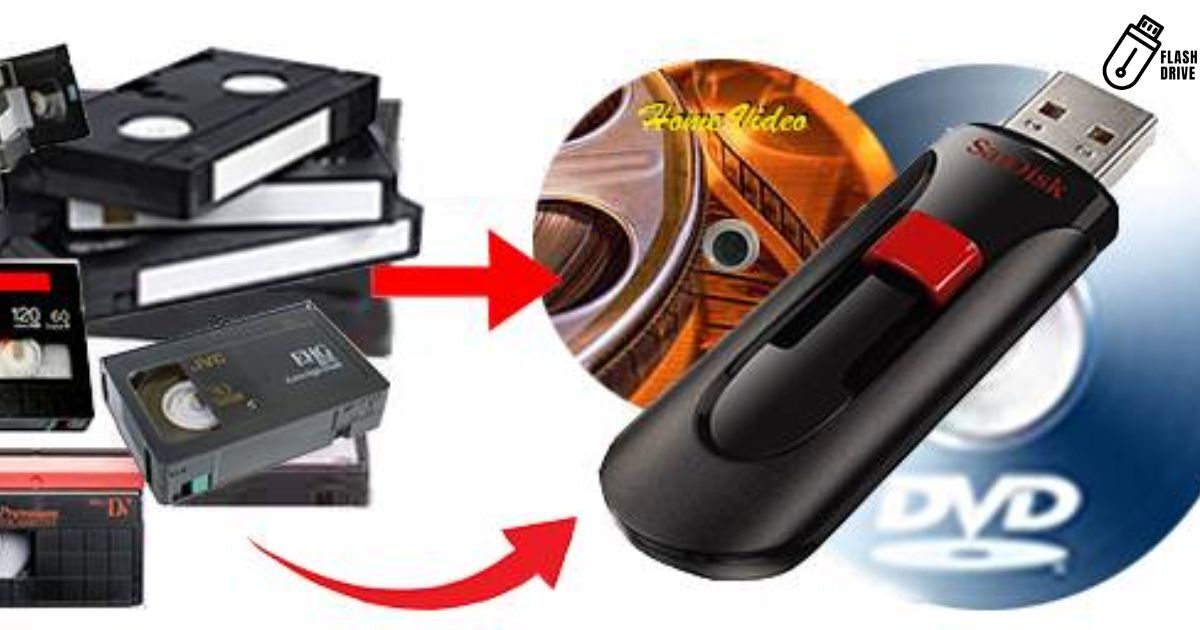
Converting VHS to flash drive involves connecting a VHS player to a digital converter. Insert the VHS tape and plug in the flash drive. Use the converter to transfer the VHS content to the flash drive creating a digital copy for easy storage and playback.
Diving into the realm of nostalgia, the process of converting a VHS to a flash drive becomes a modern-day adventure. Ever wondered how to bring those old VHS memories into the digital age? As you dust off those cherished VHS tapes. Laden with memories of yesteryears the quest to preserve and relive those moments gains momentum. Armed with the right tools and a touch of tech-savvy finesse the analogy world seamlessly melds with the digital realm.
Converting VHS to a flash drive is a straightforward process. Begin by collecting your VHS tapes and obtaining a VHS-to-digital converter. Connect the converter to both your VCR and computer. Utilize video capture software on your computer to transfer the content from the VHS tapes.
Formatting A USB Thumb Drive Using a PC
Formatting a USB thumb drive using a PC is a simple process that ensures optimal performance and compatibility. To convert VHS to a flash drive, start by inserting the USB thumb drive into an available port on your computer. Next, locate the drive in File Explorer, right-click on it, and select “Format.” Choose the desired file system (usually FAT32 for compatibility) and click “Start” to initiate the formatting process. Once completed, your USB thumb drive is ready to be used for transferring VHS content, providing a convenient and modern storage solution.
Format to NTFS Using a Mac
If you are eager to convert VHS to a flash drive using your Mac it is crucial to ensure that the flash drive is formatted to NTFS for optimal compatibility. To achieve this, you can follow a straightforward process on your Mac. First, plug in your flash drive and open Disk Utility. Locate your flash drive in the list, choose “Erase,” and select “Ex FAT” as the format. Once formatted, the next step involves converting the file system to NTFS, which can be done using third-party software like Paragon NTFS. This enables seamless transfer and storage of your cherished VHS memories on the flash drive for easy access and preservation.
Transfer VHS Files to USB
Converting your old VHS tapes to digital files on a USB is a breeze. First, grab a VHS-to-digital converter device online or at your local electronics store. Connect your VCR to the converter and plug the USB into your computer. Use the software that comes with the converter to start the transfer process. Press plays on the VCR and let the magic happen. Once the transfer is complete save the digital files on your computer and voila. You have successfully rescued your cherished memories from the analogy era and brought them into the digital age for safekeeping.
Digitizing the VHS Content
Digitizing the VHS content is a straightforward process that involves connecting your VHS player to a video capture device which is then linked to your computer. Using software like OBS or VLC you can effortlessly capture and save the VHS content onto your computer’s storage. This step is crucial for converting the analogy VHS tapes into a digital format, making it easier to transfer share and preserve your precious memories.
Transferring to a Flash Drive
After digitizing your cherished VHS memories, the next step is transferring them to a flash drive. Simply connect the flash drive to your computer, locate the digitized video files, and drag them onto the flash drive folder. Ensure there is enough space on the drive to accommodate the files. Once the transfer is complete, you’ll have your nostalgic videos ready for easy sharing or safekeeping on a modern and convenient flash drive. Whether it’s reliving those moments with friends or securing your memories for the future, having them stored on a flash drive adds a portable and accessible touch to your cherished collection.
Inserting and playing the VHS Tape
start by gently inserting the VHS tape into a compatible player. Ensure the VCR is in good working condition to prevent any playback issues. Once inserted, carefully connect the VCR to your computer, using the necessary cables. Begin playing the VHS tape while simultaneously initiating the recording process on your computer.
Monitor the playback to catch any potential glitches or distortions. It is essential to keep an eye on the video and audio quality during this convert VHS operation. Adjust settings if necessary to achieve the best possible outcome. As the tape plays, the digital conversion onto the flash drive progresses, capturing the essence of your nostalgic footage.
Once you start converting your VHS it is crucial to monitor and adjust the quality for optimal results. Keep an eye on the playback on your computer screen to ensure clarity and minimize any potential distortions. If needed tweak settings like brightness, contrast, and saturation to enhance the overall quality. Regularly check for any glitches or artifacts during the conversion process, making adjustments as necessary.
Organizing and Backing Up Your Converted Files
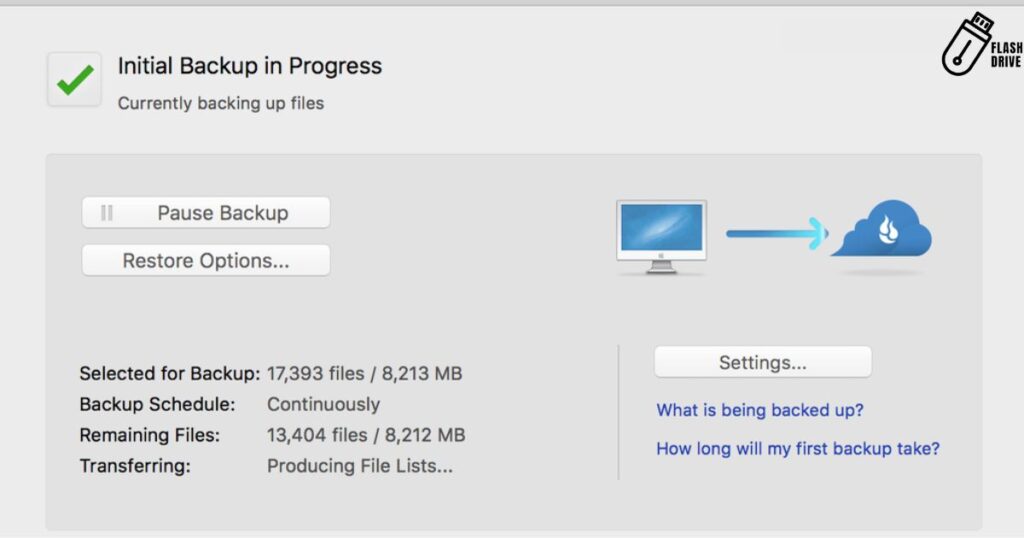
When you embark on the journey to convert VHS to a flash drive. it is crucial to prioritize organizing and backing up your converted files for a seamless and stress-free experience. Start by creating a dedicated folder on your computer to neatly store all the digitized memories.
This folder should be easily accessible and well labelled for future reference. As you transfer the files to your flash drive, double-check for any potential errors or incomplete transfers. Implement a consistent naming convention for your files, ensuring clarity and order. Regularly back up your newly digitized content to an external hard drive or cloud storage to safeguard against unforeseen data loss. Consider using file management tools to streamline the process and maintain a well-organized digital archive.
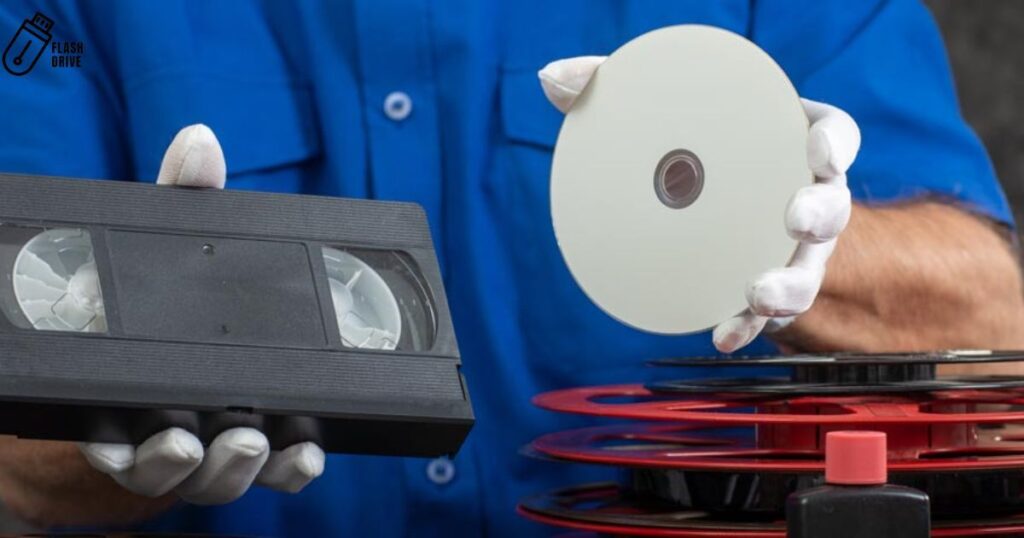
Preparing Your VHS Tapes for Conversion
Preparing your VHS tapes for conversion is crucial to ensure a smooth and successful process. Begin by inspecting each tape for any visible damage or mold, addressing these issues before starting.
Clean the tape heads with a gentle tape head cleaner to guarantee optimal playback quality. Organize your tapes in chronological or thematic order, making the conversion workflow more efficient. Rewind the tapes to their starting point to avoid incomplete transfers. Check for any loose or damaged tape sections that may require repair. Ensure your VCR is in good working condition before starting the conversion process.
If needed, replace old cables to maintain a stable connection between the VCR and the computer. Label each tape with relevant information to simplify identification during and after conversion. Choose a quiet and dust-free environment for the conversion process to minimize potential disruptions. Consider using a dedicated VHS-to-digital converter for a more streamlined and reliable conversion experience.
Choosing the Ideal Storage Capacity for Your Flash Drive
Begin by inspecting each tape for any visible damage, such as mild, dirt or warping. Clean the tapes gently using a soft cloth to remove dust and debris. Check the VCR heads for cleanliness and make necessary adjustments.
Rewind each tape fully to avoid playback issues during conversion. If you encounter damaged tapes, consider professional restoration services before starting the conversion process. Label your tapes clearly to streamline organization during and after conversion. Ensuring the physical well-being of your VHS tapes lays a solid foundation for a seamless and successful transfer to a digital format, preserving your memories for the future on a convenient flash drive.
Preserving and Restoring Old VHS Footage
| Point | Aspect | Description |
| 1 | Assessment | Evaluate the condition of the VHS tapes to identify potential issues. |
| 2 | Cleaning | Gently clean the tape heads and other components using a soft cloth. |
| 3 | Storage Conditions | Store VHS tapes in a cool, dry place to prevent deterioration. |
| 4 | Digitization | Transfer VHS footage to a digital format for easier preservation. |
| 5 | Quality Settings | Choose optimal resolution and bitrate during the digitization process. |
| 6 | Editing | Use video editing software to enhance and restore the footage. |
| 7 | Backup | Create multiple backups of digitized content to prevent loss. |
| 8 | Labelling | Clearly label digital files with relevant information for future reference. |
| 9 | Regular Check-ups | Periodically check stored tapes and digital files for potential issues. |
| 10 | Consult Professionals | If unsure, seek advice from preservation experts for specialized cases. |
Selecting the Right VHS to Digital Converter Model
Optimizing video and audio settings is paramount for achieving top-notch quality. Begin by selecting the appropriate resolution and bitrate during the conversion process.
Adjust the video settings to enhance clarity and color balance, ensuring a crisp digital reproduction. Likewise, fine-tune audio settings to capture the nuances of the original sound. Experiment with different configurations to strike the right balance between file size and quality. Before finalizing the conversion, preview the output to ensure satisfactory results. the key to a successful endeavor lies in finding the optimal settings that preserve the essence of your cherished memories.
Customizing Metadata and Organizing Digital Archives
- Begin by creating a systematic approach to organizing digital archives.
- Customize metadata fields to include relevant details like dates, locations, and people.
- Consistency in metadata applications aids in efficient search and retrieval.
- Use descriptive keywords to enhance the searchability of each item in the archive.
- Categorize files into folders or tags based on themes or events for easy navigation.
- Consider implementing a standardized naming convention for uniformity.
- Regularly review and update metadata to reflect any changes or additions accurately.
- Utilize dedicated archival software for comprehensive organization and management.
- Implement a backup system to prevent data loss and ensure long-term preservation.
- Document and adhere to your customized organizational strategy for sustained archive clarity.
Optimizing Video and Audio Settings for Quality
When aiming to convert VHS to flash drive, optimizing video and audio settings is paramount for achieving top-notch quality. Begin by selecting the appropriate resolution and bitrate during the conversion process.
Adjust the video settings to enhance clarity and color balance, ensuring a crisp digital reproduction. Likewise, fine-tune audio settings to capture the nuances of the original sound. Experiment with different configurations to strike the right balance between file size and quality. Before finalizing the conversion, preview the output to ensure satisfactory results. Remember, the key to a successful convert VHS to flash drive endeavor lies in finding the optimal settings that preserve the essence of your cherished memories.
FAQ’s
How do I convert VHS to a flash drive?
Connect a VHS player to a video capture device on your computer. Then, use video capture software to record the VHS content and save it directly to your flash drive.
What equipment do I need for VHS to USB conversion?
You will need a VHS player a video capture device, a computer with USB ports, and video capture software.
Can any flash drive be used for VHS conversion?
As long as the flash drive has enough storage capacity to accommodate the digitized VHS content.
Conclusion
The process serves as a bridge between the analog past and the digital present. By undertaking the conversion, you not only rescue precious memories from the aging clutches of VHS tapes but also open the door to a world of modern accessibility. The repeated use of the keyword emphasizes the simplicity and effectiveness of this method.
Drive ensures that also readily shareable and easily navigable in today’s technology-driven landscape. This transformative process marks a shift towards a future where nostalgic moments are safeguarded against degradation and made effortlessly accessible with just a simple flash drive plug-in. Don’t let your cherished memories fade away. embrace the power to breathe new life into your archives.