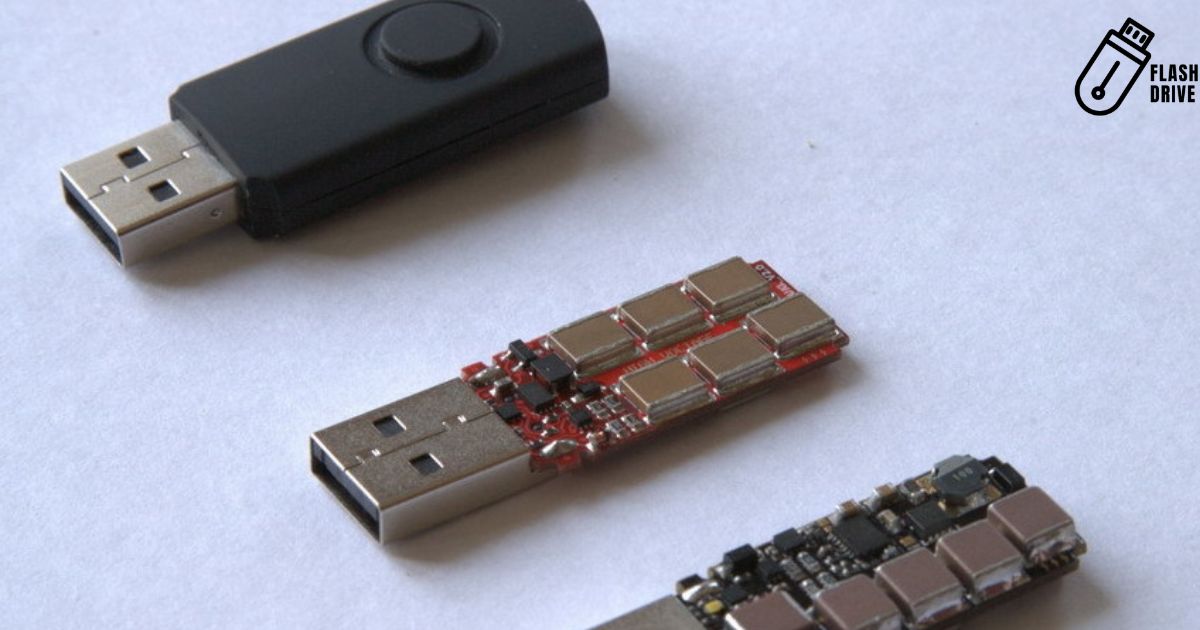
Destroying a flash drive can be achieved by physically breaking it or using tools to erase its data. These methods ensure that the stored information becomes irrecoverable, ensuring the devices eradication.
Delve into the realm of obliteration with methods ranging from physical demolition to electronic eradication. Curious about making a flash drive vanish? Discover quick and straightforward ways to erase its existence.
To destroy a flash drive, various methods are available. Physically damaging it through smashing, cutting or bending renders the device inoperable. Electronic erasing tools can be employed to wipe the data, ensuring it is irretrievable.
Formatting a USB Thumb Drive Using a PC
Formatting a USB thumb drive on your PC is a breeze. Just plug in the drive, right-click on it in File Explorer, and select Format. Choose your preferred file system. formatting erases all data, make sure to back up your files before giving your thumb drive a digital makeover
Format to NTFS Using a Mac
Formatting to NTFS on a Mac requires a few extra steps. First connect the USB drive and open Disk Utility. Select the drive, click Erase and choose Exeats as the format. Once done, launch Terminal, type diskitis list to find your drive’s identifier, and finally, execute the command udo distil erase Disk NTFS NAME /dev/IDENTIFIER. your USB drive is ready for seamless compatibility with Windows systems.
Transfer VHS Files to USB
Transferring VHS files to a USB, also known as a flash drive, is a simple process that helps preserve precious memories. First, connect your VHS player to a digital video converter using the appropriate cables. Insert the VHS tape and plug the converter into your computer. Open video capture software and start recording the VHS content.
Once recorded, save the file to your computer and then copy it onto a flash drive. This handy device allows you to conveniently store and share nostalgic moments with family and friends.
Connecting VHS Player to Video Capture Device

To connect a VHS player to a video capture device you’ll need a few simple steps. First, locate the composite or S-video output on your VHS player. Next, identify the corresponding input on your video capture device. Use the appropriate cables to connect the two, ensuring a secure fit. Once connected, power on both devices and set your video capture software to recognize the incoming signal.
Recording Analog Footage with Video Capture Software
Recording antilog footage with video capture software is a breeze. connect your antilog source, like a VHS player or camcorder to your computer using the appropriate cables. Open the video capture software on your computer and select the input source.
- Compatibility and Hardware. Ensure your video capture software is compatible with analogy devices and has the necessary hardware inputs, such as composite or S-video connections.
- Connection Setup: Establish a proper connection between your analogy source (VCR, camcorder, etc.) and your computer using the appropriate cables, considering factors like video and audio inputs.
- Software Configuration: Familiarize yourself with the video capture software settings, adjusting parameters such as resolution, frame rate, and audio settings for optimal recording quality.
- Preview and Monitoring: Utilize the preview feature in the software to monitor the analogy footage before and during recording, ensuring the desired content is captured accurately.
- File Format and Compression: Choose a suitable file format for recording, considering compatibility with editing software, and be mindful of compression settings to balance file size and video quality.
- Storage and Saving: Allocate sufficient storage space on your computer or external drive for recording, and establish a systematic file-naming and saving structure for easy organization and retrieval of captured analogy footage.
Saving Digital Files on Your Computer
Saving digital files on your computer is a straightforward process. After creating or editing a file, click the ‘Save button and select the destination folder where you want to store it. Organizing files into specific folders makes it easier to find them later. Regularly back up your important files to prevent data loss. Consider using external drives or cloud storage for additional security. With these simple steps, you can efficiently manage and safeguard your digital files on your computer.
Preserving and Sharing Memories Digitally
Preserving and sharing memories digitally has become effortlessly convenient, thanks to the accessibility of modern technology. Capture your cherished moments through photos or videos and store them on a flash drive a compact and portable solution for safeguarding your precious memories.
Whether it is family gatherings, special occasions, or everyday adventures, the ease of transferring files onto a flash drive ensures that you can share those heart-warming moments with loved ones and relive them whenever you want. Embrace the digital era to create lasting memories that can be carried in your pocket on a handy flash drive.
Wiping Clean with Magnet Power
If you are looking to wipe your flash drive off the digital map, consider the magnetic magic trick. Grab a strong magnet and give your drive a good rub down. Magnets disrupt the magnetic fields on the drive erasing the data and leaving your storage space a clean slate. It is like a high-tech version of shaking an Etch-A-Sketch but for your digital secrets. Just be sure to use a powerful magnet and swipe it across the entire surface of the drive for maximum effect.
Zapping Away Data for Good
In a world drowning in data, the concept of “Zapping Away Data for Good” emerges as a digital superhero, eradicating the clutter and noise. With a zap and a click, pointless information fades into oblivion, leaving room for clarity and efficiency. It is a tech-savvy solution, a modern-day magician waving a wand to restore balance in the chaotic realm of ones and zeros. Approval this power means releasing a streamlined digital existence where only the critical survives the zap.
Obliterating Data with Crushing Force
When it comes to obliterating data with crushing force, think of it as a digital powerhouse. Whether you are clearing old files or ensuring absolute security, the process is as intense as it sounds. Picture a relentless force smashing through digital barriers, leaving no trace behind. Once the task is complete, it is a good practice to store essential data on a flash drive for safekeeping. This compact device acts as a fortress for your valuable information, ensuring that it remains intact and accessible whenever you need it. So, crush those digital worries and safeguard your data on a flash drive!
The Power of Obliterating Data
The Power of Obliterating Data emerges as a transformative approach. This method involves a strategic and forceful elimination of redundant obsolete or unnecessary information creating a streamlined and efficient digital landscape. It is a dynamic process akin to wielding a digital sword to cut through the complexities, paving the way for a more agile and responsive information ecosystem.
Crushing Force Against Information Overload
| Key Aspect | Description |
| Understanding Overload | Recognize the overwhelming influx of information from various sources. |
| Filtering Mechanisms | Implement effective filters to sift through information and prioritize relevance. |
| Organizational Strategies | Utilize tools and methods for organizing information, reducing chaos and clutter. |
| Selective Consumption | Cultivate the habit of selectively consuming content to avoid unnecessary overload. |
| Time Management | Allocate specific time slots for information intake, preventing constant inundation. |
| Mindful Engagement | Engage with information mindfully, focusing on quality rather than quantity. |
| Continuous Adaptation | Stay adaptable and update strategies to navigate evolving sources and demands. |
Benefit
While intentionally destroying a flash drive may seem counterintuitive, there are potential benefits in certain situations, such as
Data Security: Physically destroying a flash drive ensures that sensitive information stored on it is irrecoverable, providing a robust method of data security.
Compliance with Regulations: Destruction of storage devices might be necessary to comply with data protection and privacy regulations, ensuring that no confidential information falls into the wrong hands.
Preventing Unauthorized Access: Eliminating a flash drive through destruction mitigates the risk of unauthorized access.
Frequently Asked Questions
Why would I need to destroy a flash drive?
Destroying a flash drive is crucial for safeguarding sensitive data, complying with privacy regulations, preventing unauthorized access, and ensuring proper end-of-life disposal.
What methods can I use to physically destroy a flash drive?
Common methods include shredding, drilling holes, smashing with a hammer, using a powerful magnet, or exposing it to extreme heat.
Conclusion
Destroying a flash drive is a task that requires caution and a clear understanding of potential risks. When opting to dispose of sensitive data stored on a flash drive it’s crucial to choose methods that ensure destruction such as physically damaging the drive beyond repair or using specialized electronic erasure tools.
Remember whether it’s smashing, shredding, or using software to wipe the drive always prioritize safety and take necessary precautions. Properly destroying a flash drive ensures the protection of your confidential information and prevents any potential data breaches. Choose the method that suits your needs and ensures that the flash drive is rendered unusable before disposing of it responsibly.